Collections and the press kit
A collection is an ordered set of files from the library, such as a gallery or a set of trailers. A public collection is what your websites can show. The press kit is a public page for journalists and creators, built from three of your public collections plus some facts and a description.
Both live in the Library, under the links Collections and Press kit. Everybody on the brand can look. An Editor or an Admin can change them (see People and roles).
Make a collection
- Open Library, then Collections.
- Under New collection, type a name and press Make it.
- In the collection, use Add a file from the library. Choose a file from Choose a file and press Add.
- Put the files in order by dragging them by their handle. The order is the order a website shows them in. Take out removes a file from the collection, not from the library.
A file added this way follows its newest approved version, and the collection says Newest approved beside it. So when you approve a better version of a screenshot, the collection picks it up without you touching the collection.
Remove the collection removes the collection, not its files.
Make it public
Turn on Shown on sites and the collection gets a Public badge. The page then shows the address a website reads the collection from, under "Sites read it from". That address is for whoever builds your website, so hand it to them.
Only some files come through a public collection, on purpose:
- only Approved files, so a draft or a turned-down version is never shown;
- never a file marked Spoiler: never shown publicly;
- never a file before its Embargoed until time has passed.
See Library for where each of those is set. If a file is missing from a public collection, one of the three is why.
A collection that is not public is only for you. You can still use it as a set to pick from when you make a preset in the AI studio.
The press kit
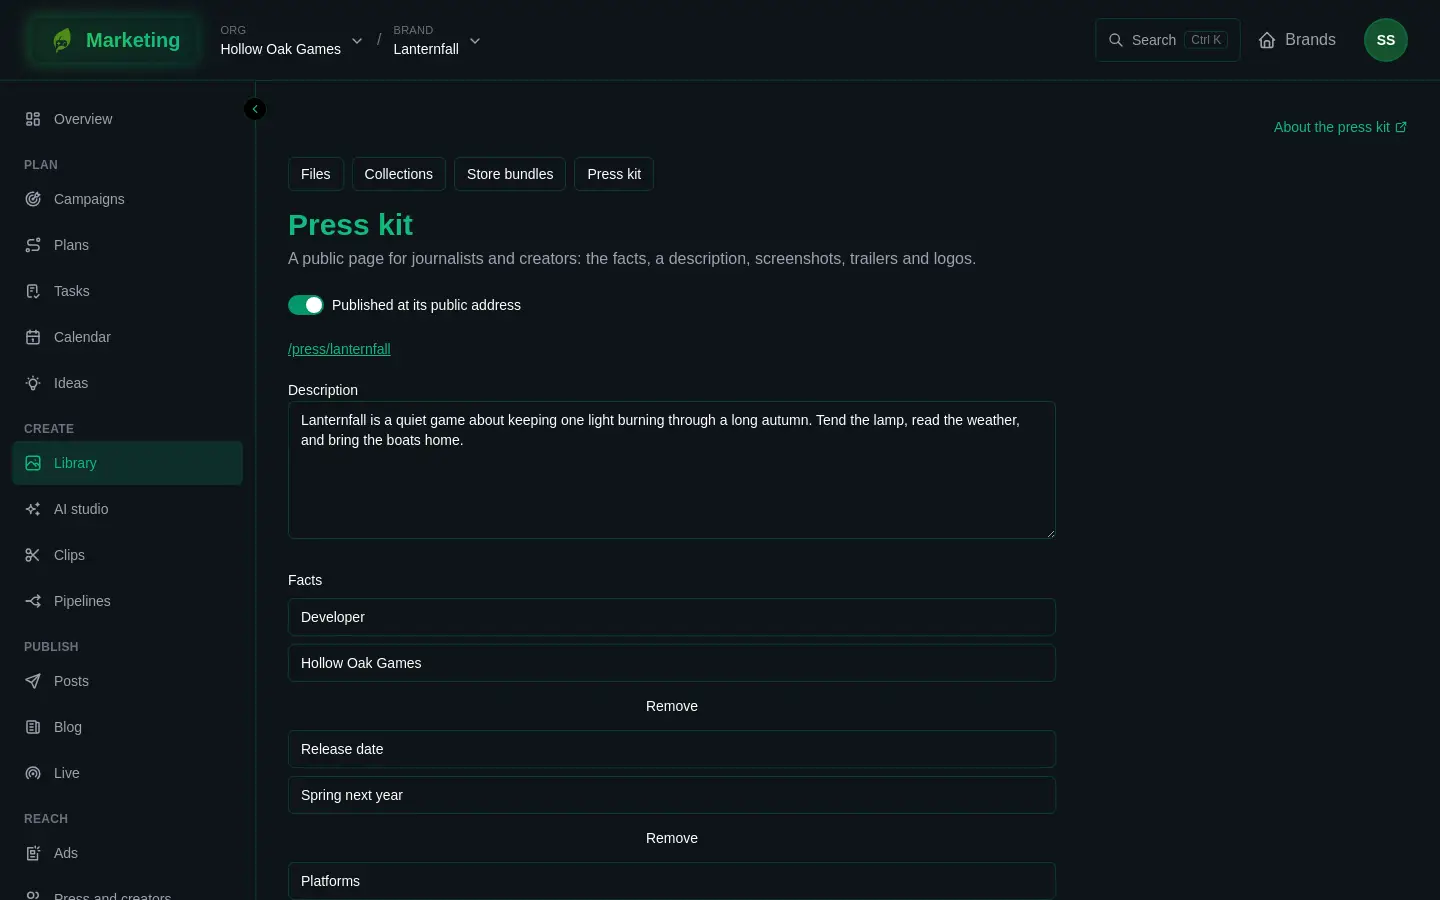
Open Library, then Press kit. The press kit is off until you turn it on.
- Write the Description. It shows at the top of the public page.
- Under Facts, press Add a fact and fill in What it is (for example Release date) and Its value. A fact with either box empty is dropped when you save. Remove takes one away.
- Choose a collection for each of Screenshots, Trailers and Logos. If you choose one that is not public, the page warns you: "This collection is not public, so the press kit shows nothing from it." Make the collection public first.
- Turn on Published at its public address.
- Press Save. When it is saved, the page says Saved.
Once the press kit is published, the settings page shows its address so you can share it. It is a page on the Marketing site, with the brand's name in the address, and it needs no sign-in to read. The address asks search engines not to list it, so people find it from the link you give them.
What a visitor sees: the brand's name, the description, the facts, and the screenshots, trailers and logos, each as a picture or a video with a download link. At the bottom there is a link to ask the brand for a key. See the pages creators see.
If the press kit is not published, anybody opening its address sees "There is no press kit here". To take a published page down, turn the switch off and press Save. Your other settings stay as they were.
If something does not work
- The public page shows no pictures. The collection behind it is not public, or its files are not approved. Check the collection and then the files.
- A new screenshot is not on the press kit. It has to be in the collection and approved. A collection picks up the newest approved version of the files already in it, but a new file has to be added.