Getting started
GreenMind Marketing is where you plan what you say, publish it to the networks you connect, and see what happened afterwards. This page takes you from signing in to a first post and its first numbers.
Sign in
Open Marketing and choose Sign in with GreenMind. Signing in creates your GreenMind account if you do not have one.
You arrive on Brands: the brands of the org you work in. An org is who owns what you make across GreenMind, and a studio is an org named for the studio. If you work in more than one, change org in the org switcher in the header. Manage orgs, in the same switcher, opens your account's org pages.
Make a brand
A brand is what you market from: a game, a band, anything with an audience. Brands and kits says what one holds.
- On Brands, find Make a brand.
- Give it a Name.
- Leave Address (optional) empty to have it made from the name, or write your own. An address is lower-case letters, digits and hyphens. It is the brand's name in addresses, and it cannot be changed later.
- Press Make the brand.
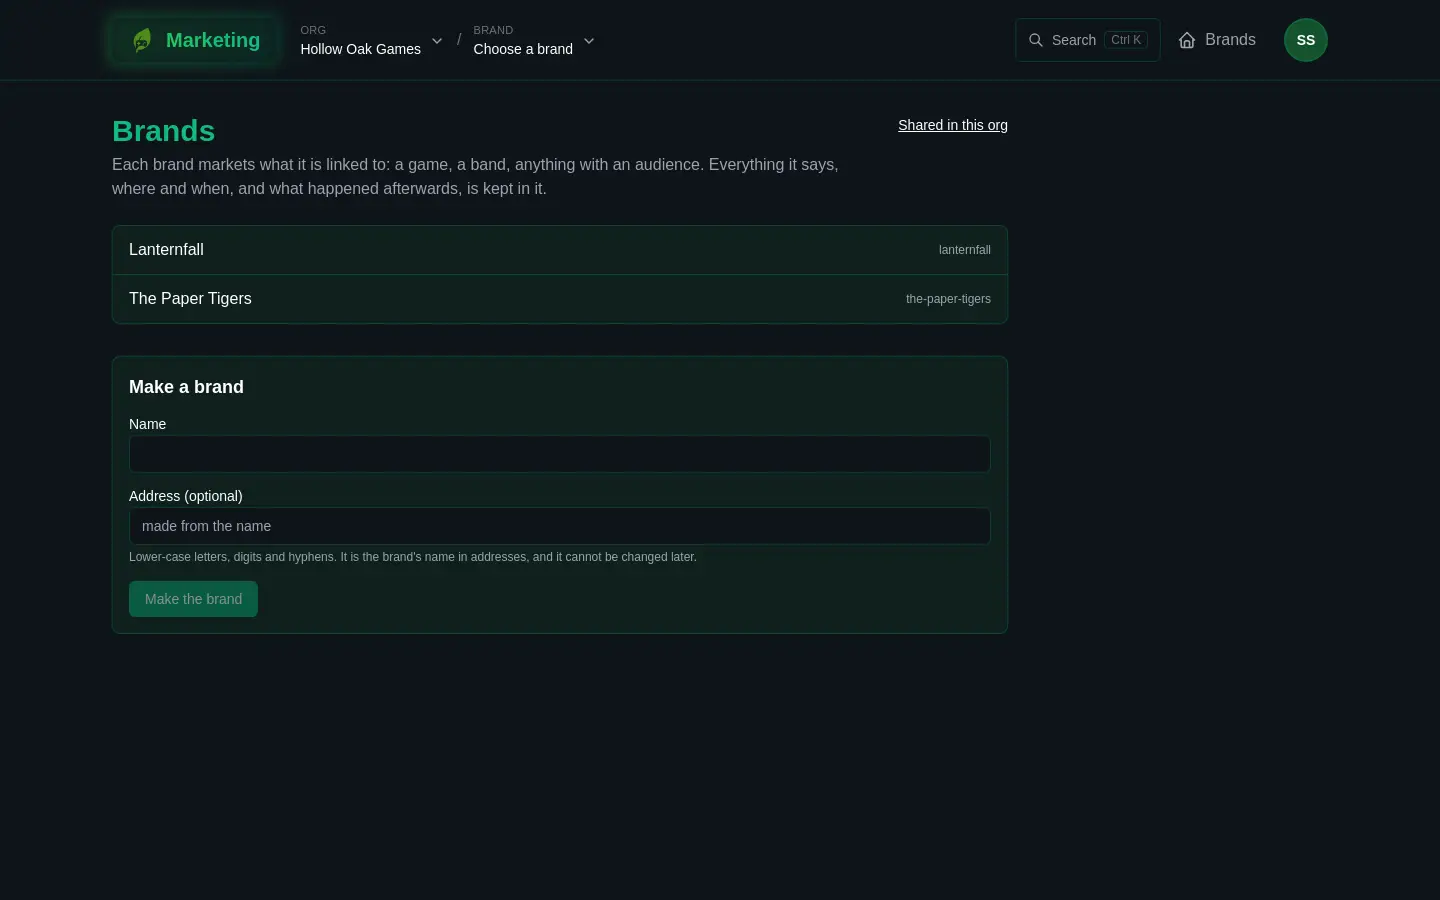
You land on the brand's Overview, with its areas in the sidebar. If the page has no Make a brand form, you may not make brands in this org. Ask somebody who manages the org.
Connect one account
A brand posts through the accounts you connect. Everything else in Marketing works without any.
- Open Connections, in the Brand section of the sidebar. Only an admin of the brand sees the buttons. Anybody else is told that an admin connects its accounts and channels.
- Find the network. Its row offers the ways to connect it: Connect, Use your own app or Add a key. Which ones depend on the network. How to set this up opens the network's guide, and the Networks page lists them all.
- Follow the network's own sign-in, or paste what it gave you.
- Back on the page, press Test. A connection that works reads Working.
- On the same page, under Posting, check that the account is listed. If it is not, choose Use a connection and pick it.
If your org has already connected the network, its row says Connected at the org and offers Choose it for posts. You do not connect it again.
Bluesky and Discord are the lightest to start with: each takes a key you make yourself, with no developer app to build and no review by the network.
Write and publish a first post
- Open Posts and choose New post.
- Give it a Title, which is for your team, and write the Text. Every channel starts from this text, put in its format and cut to its length. A link in the text becomes a tracked link when you save.
- Under Channels, tick the account to post to. A Costs credits badge means posting there is priced. See Credits.
- Each ticked channel gets a panel of its own, with its own text and a count against its limit. Change the text there if the network needs it different.
- Press Save.
- What comes next depends on your role:
- An admin presses Publish now, or sets Goes out at and presses Schedule. Either one approves the post as well.
- An editor presses Send for approval. An admin then presses Approve, and schedules or publishes it.
The post's badge follows it: Draft, In review, Approved, Scheduled, Publishing, then Published. If it ends Partly failed or Failed, see Post problems. Posts has the rest.
See it counted
- Calendar shows the post on its day.
- On the post's page, How it did fills in with its numbers. They are taken an hour, a day, a week and a month after each channel's version went out, so it is empty at first.
- Links counts the clicks on the tracked links in the text.
- Numbers draws the brand's figures a day at a time, with everything you did on the same days. A figure appears after the next daily pull.
Where next
- Add the people who work on the brand: People and roles.
- Know what costs credits before it does: Credits.
- Follow a whole job from start to finish: Plan a week of posts, Market a game launch or Market a band's release.
- A connection that stops working: Connection problems.